On the Bench: Fabricated Sapphire and Diamond Mixed Metal Engagment Ring
Share
While I use CAD and CNC milling or hand carving wax models for casting for many of my designs, I also do old school fabrication from sheet and wire to create rings. Sometimes I use a combination of multiple techniques if it is the best solution for a particular design. I am not really married to one technique. I just use what is the most economical way to get a task done. I do enjoy traditional fabrication as much as incorporating new technologies. They are all just part of the process.
For mixed metal designs fabrication is usually the way to go especially if the shapes of each component is rather simple and does not require sculpting in wax. One great example would be designs like this sapphire and diamond engagement ring.

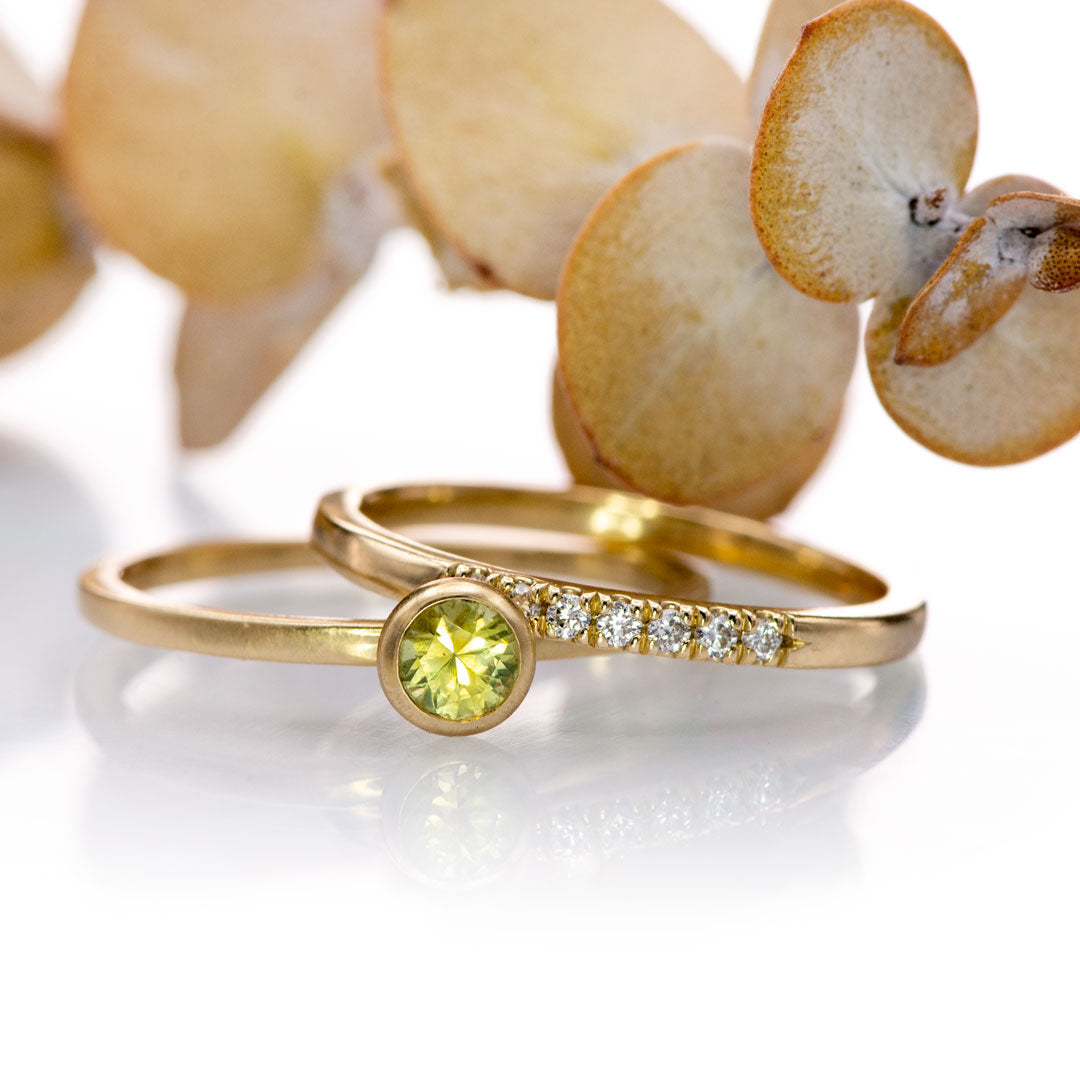
Ethical engagement ring with a green Fair Trade Montana sapphire set in 18k gold tapered bezel with gold accents and diamonds on a textured palladium ring shank.
I did photograph the steps creating this ring from wire stock to show all the tasks that go into the making. This should not be understood as a tutorial how to copy my design. This is just to show the process to my customers so they understand better what goes into the creation of their ordered ring.

Materials for the ring:
Palladium flat stock for the shank, 18k Gold for the settings and accents, green Montana Sapphire and diamonds
I usually buy milled stock from my metal suppliers as this is more economical for me than rolling wire stock and sheet myself. I don't actually own a rolling mill. If I get a bigger studio it's certainly on my list to get. But so far I did ok without a mill. All my metal suppliers sell only recycled precious metal.
First I start making the ring shank from the palladium stock.

There is some math involved to get the correct length of metal needed for the requested ring size. Or they also have apps for lazy people like me. The app is called IMakeJewelry and has lots of very helpful charts, calculator and tips.

Bending the palladium stock into a ring shape. The tool used is a Pepe ring bender.

Then I cut it at the mark I made before indicating the length I need for the ring size ordered.

I make a tight joint for soldering
Then comes the fun part: Soldering
For soldering Palladium welding glasses are needed for eye protection since the metal glows very bight.
I use platinum solder, no flux required for palladium soldering.

Clean up soldered joint, then hammer round, polish and texture as required.
Texturing the band with a hammer handpiece and a rounded tip. Sorry for the crazy sound in the video.

Bezel making for the sapphire: cut 18k gold stock at appropriate length (math is involved again), form into round shape. (shown here)
After that create a tight joint and then fuse ends.

Using a bezel block to form the fused gold tube into a tapered round bezel. There are instructions available on the Otto Frei site for using bezel blocks.

Checking if size is correct to fit sapphire. The seat for the sapphire will be cut once the bezel is soldered to the ring.

file top and bottom of bezel flat, polish it

The small settings for the diamonds are made by cutting pieces from the gold tubing and forming it in the bezel block too.
Now those settings can be soldered to the textured band.

Soldering the large center gold bezel to the palladium shank.
For soldering gold to palladium gold solder and flux is required.
The special tweezers keeps the shank and bezel aligned during soldering and makes sure there is a tight fit.

Soldering the small bezels and cold accents to the band.
For the gold granules I melt some tiny gold scrap into balls and place them on the shank for soldering.
The accents are purposely placed off center.

Ring after pre-polish and before stone setting

Drilling cleaning holes through the shank.


Setting the diamonds with a Badeco hammer handpiece. This is done under a microscope.

Cutting a seat for the sapphire and testing the fit frequently.

Setting the sapphire the same way the small diamonds were set.

The finished ring after polishing and cleaning.


